One regular occurrence, no matter what the age of your collection, is finding a book in need of some sort of repair. Whether it's become overheated and dried out, with random pages falling out, or if it's "shelled itself", with the whole cover block detaching from the pages, there's always a book that needs some attention. My problem is that I'm not skilled enough in this area to know what sort of repairs are possible, and where the line is between me being able to do some basic repairs, and when a book needs to be sent off to the book binders for some expert attention.
Luckily, the binders we usually use, Downie Allison Downie, run a variety of classes on all elements of book making and repair. My colleague and I were able to go along to one of these classes recently, carrying a few sad examples each of books in need of repair. The way we spilt the carrying weight, I had the hardbacks with me, and my colleague had paperbacks in various states of dirtiness and collapse. I'm going to show you what I had to do to repair my pile of books...and why I am even more in awe of the skill of the bookbinders at DAD!
 |
| The hardbacks pile |
I had four books with issues - two old books that needed their spines/boards replaced or repaired/had sprung overly open and the sewing had started to become loose (and one of those had also suffered from some historic munching by a bookworm on the spine and front board); one that was in danger of having the spine break off, and one modern one that had a single loose page which we wanted advice on refixing properly.
My colleague and I were art of a class of about eight people, with two teachers, John and Mia. The ration of students to teachers meant we had lots of individual attention, which was essential - the range of books being brought for repair was amazing, from historic family bibles to bound collections of early motorcycle magazines and rare books on gardening and British moths and other insects, and specific advice on how to deal with each of them was needed. So, when I say "I did X, Y or Z", what I'm really saying is "John and/or Mia told me how to..." - they're the ones with the amazing skills here!
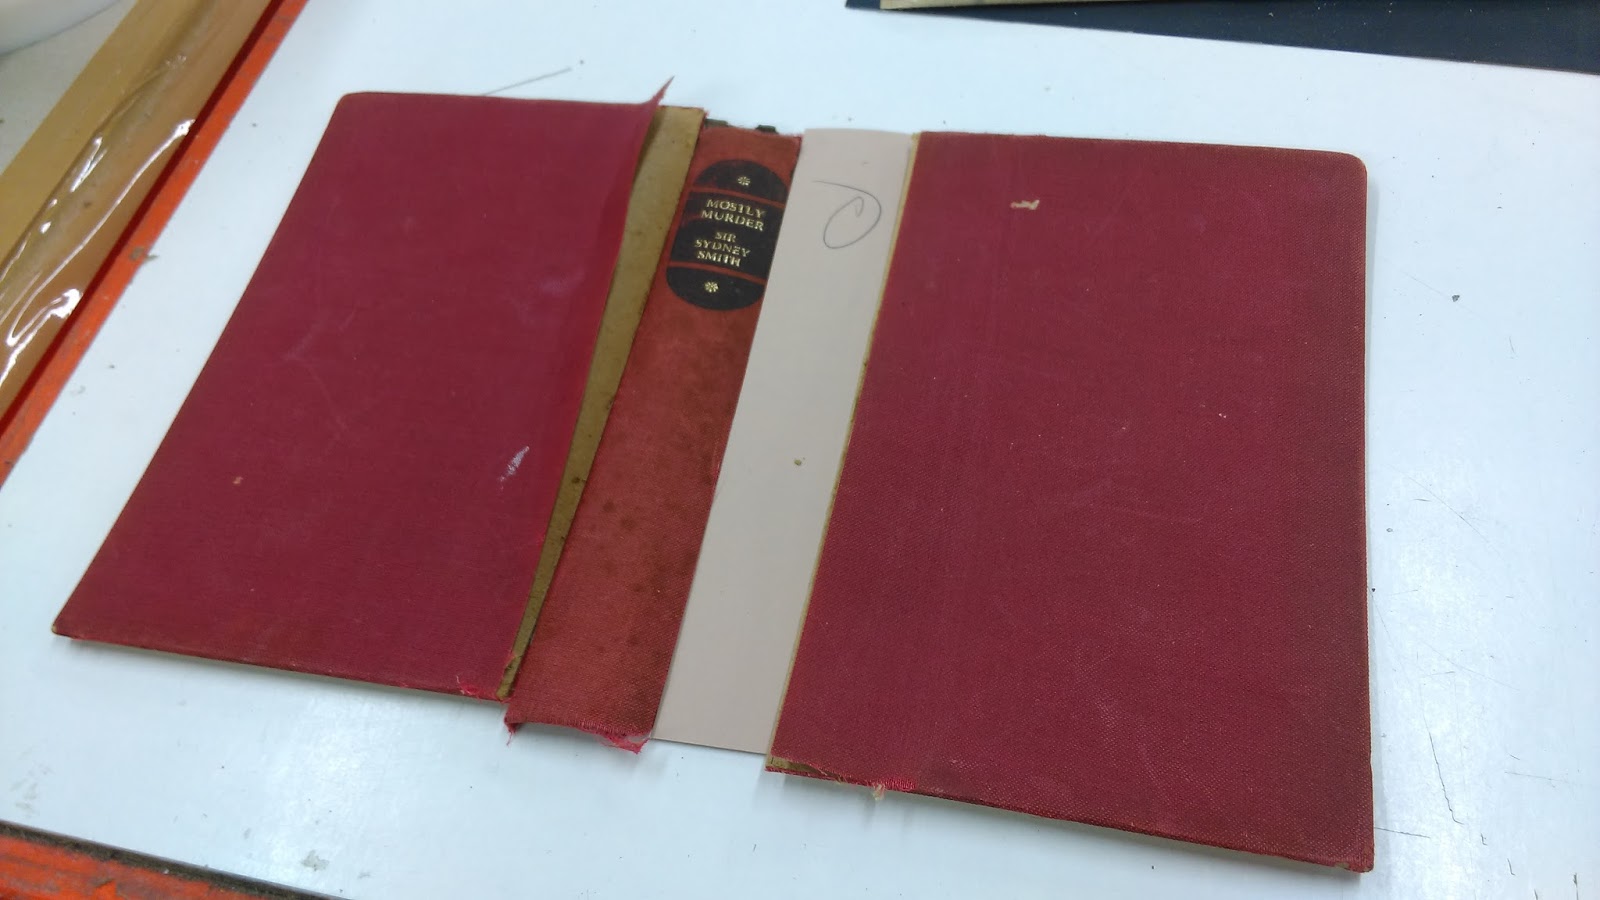
So....I started with the two "sprung" books - this involved taking them completely out of their original shells.
 |
| Removing the boards and spine from one of the "sprung" books |
 |
| Bookworm damage on spine and edge of front board |
Once the "shell" of the books had been removed, the old glue and paper from the spines needed to be removed too.
 |
| Taking the crumbly old paper bonded to the old glue off |
 |
| Taking off the old fabric strip on top of the stitched spine |
After clearing all the old glue, paper, and "stuff" off the spines, it was time to pull the relaxed pages back into a semblance of tautness again. This involved using whip stitch on the front and back sections of the book. There was a manoeuvre involving knots, and wrapping the thread around the needle that made sense at the time, but I guarantee I couldn't replicate now. But it worked well to pull the book together, especially with the book that had a loose front section.
 |
| Whip stitch |
 |
| Whip stitch securing front and back sections to main block |
Meanwhile, my colleague was also hard at work. She had a paper-bound book/pamphlet which (for reasons we shall not question) held the contents of legislation relating to taxation on beer in Edinburgh from the 17th and 18th centuries. This wasn't something to be rebound, but it was fairly dirty and had pages earmarked by folding, and we wanted advice on what to do to with it. She was set to work to carefully lift surface grime and dirt from this by carefully cleaning each page with an absorbent sponge/rubber (don't ask me the proper description for it other than it was gentle and safe!). Yes, I am mean and took photos of her while she was hard at work!
 |
| Careful removal of ingrained dirt in pages |
I have to say, it took a while but the end result was impressive! The booklet now feels less....well...manky!
After doing the whip stitching I measured up, cut and glued new custom-size end papers on to the front and back of the text block. Then a new fabric covering was put over the spine, attaching on to the new end papers.
 |
| New fabric covering on spine, new end papers in place on front and back |
Then, I got to vent some frustrations! The books were held tightly in a heavy duty metal clamp, and the spines needed to be hammered back into the curved shape that a book spine should sit in. So....I got to hit them them with a hammer, yay!
 |
| Book clamped in place, ready for spine to be hammered |
Meanwhile, my colleague had been hard at work too. After cleaning every single page of the "booze book", she had then been busy with the other paperbacks. Two of these had dried out, and pages were either already falling out, or were about to. She carefully detached each individual page from both volumes, then (I may have missed some information here as I was doing my books, so forgive me any errors) she...erm....glued on the fabric spine? Sorry - I was engrossed with stitching and hammering at this point! But she was super focused, lining up pages with careful concentration!

As for me, my books had to be left overhanging the edge to preserve the curve of the spine, while I worked on the other bits.
 |
| Book resting while overhanging desk edge |
Next, the spine needed to be replaced. This was done with some thin card, and it needed to be measured up against the size of the original book.
 |
| Card, cut to matching width for the spine |
Then, I had a moment where I had to lay bits on top of bits, while going "HOW THE HELL DOES THIS WORK THEN!?!?"
 |
| Moment of confusion and self-reassurance - card spine now also cut to matching length |
Luckily, John and Mia were there to explain and reassure. Otherwise, I may have been tempted to start whimpering....
Meanwhile, John had also been advising on how to stop one old book's (Report of the Trial of the Dynamitards, in case you were curious) spine label from popping off. Turns out, its thick paste. Wipe it on with a sponge, then wipe the excess off, and leave to dry. Voila! Turns out, it also slightly cleans it in the process too - who knew that book was so manky? (not me).
 |
| Hammering the corners back into shape before stiffening them with paste |
 |
| Leaving front and spine to dry after pasting |
 |
| Spine card, lying on buckram |
Earlier, I'd carefully eased up the spine edge side covering of the original boards. This left space on the original boards for the new buckram to be pasted on, with the original cover material being smoothed down on top of the new material, and burnished to minimise the visibility of the overlap point.
 |
| Spine in place between old covers. Original cover material on right has been glued down over new buckram, yellow underside of cover on left is showing before being glued down over new buckram |
Both books needed this treatment - the fadedness of the original cover on one book was quite impressive!
 |
| New spine in place, with both covers glued down. Bookworm damage to cover visible on the board on the right. |
The original spines now needed to be fixed on to the new spine sections, after being trimmed to remove any trailing edges or threads.
 |
| The detached and trimmed original spines - one with a fair bit of nibbling from a bookworm at the top right |
My colleague was also working her way through her pile of paperbacks, and was moving on to making brand new hardback covers for these books.
 |
| My colleague being instructed on how to put her collection of loose pages into a new hardback cover |
Just to prove that I was there myself....
 |
| The top says "I have no idea what I'm doing and that's kinda the way I like it". A phrase I aim to live by. |
Once the spines were dry, I moved on to securing the book into the shell by gluing the end papers and text block on to the boards and the spine, and that was mine...done!
 |
| Recovered books, with glue drying |
Don't they look nice?
 |
| The final hardback rebinds |
I took the opportunity to shift the bookworm damaged cover page from being a front cover to being a back cover, to make it less obvious. The spine of that book had to be trimmed to be narrower than the original to get back to a solid piece of fabric, so it's not a perfect match, but it's now secure and won't deteriorate.
The other book could be trimmed more exactly, making it a very close match to the original size, and making it look almost as if it hadn't been touched.
 |
| Finished, rebound books |
This isn't everything about the day, as my colleague had further work on the previously-paperback-now-hardback items she'd been dealing with, doing foil lettering, clamping, burnishing, and who knows what else, but that's her story, not mine!
It was a busy day but the time flew by - we were always hard at work on some element of the complex process of repairing our hardback and paperback books. And what I've learned from the day is...repairing old books is definitely best left to the very skilled staff at Downie Allison Downie! They were brilliant teachers, and full of patience with our class! If you get the opportunity to go to one of their classes, do it....even if it's just to gaze in awe at the knowledge and skills of the teachers!
Comments